 Help Center
Create a client
Register a new person and then review their profile, sales, bookings, and preferences.

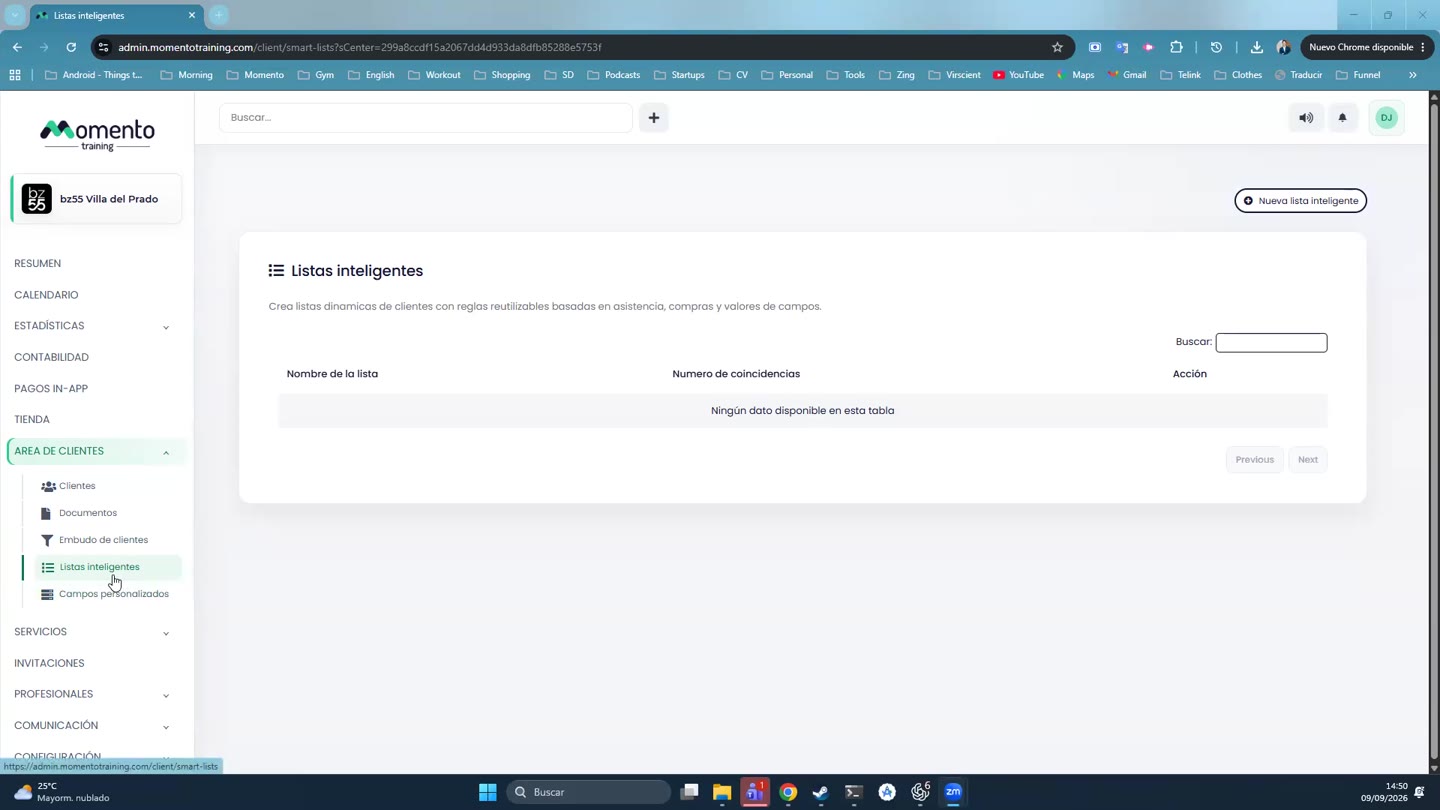
You can create a client from the New client button in the top bar or from the Client area.
After creation, the individual profile gathers personal data, profile details, bookings, purchases, documents, notifications, invoices, and payment methods.
Review notification preferences and billing data before selling memberships or booking sessions.
Recommended steps
- Click New client or open the Client area.
- Complete the required basic data.
- Save the profile.
- Review profile, notifications, and billing data.
Before you start
Make sure you are in Client area and that you have permission to perform this action in the correct center.
If you are changing information that affects clients, bookings, payments, or notifications, review the current state first to avoid incomplete changes.
What happens next
After saving or applying the action, return to the related list, profile, or session and check that the change appears as expected.
If the result is not what you expected, review filters, selected date, active center, and item status before repeating the action.