 Help Center
Create a schedule
Set up the classes of a typical week and Momento repeats them on the calendar for the dates you choose.

A schedule is your center's typical week: which classes run on which days, at what time and with which professional. You set it up once and Momento repeats it on the calendar for the dates you choose.
Clients never see the schedule itself. They only see the sessions it creates on the calendar.
Before you start: you need the services and professionals you'll put in each class.
Step 1: Create the schedule
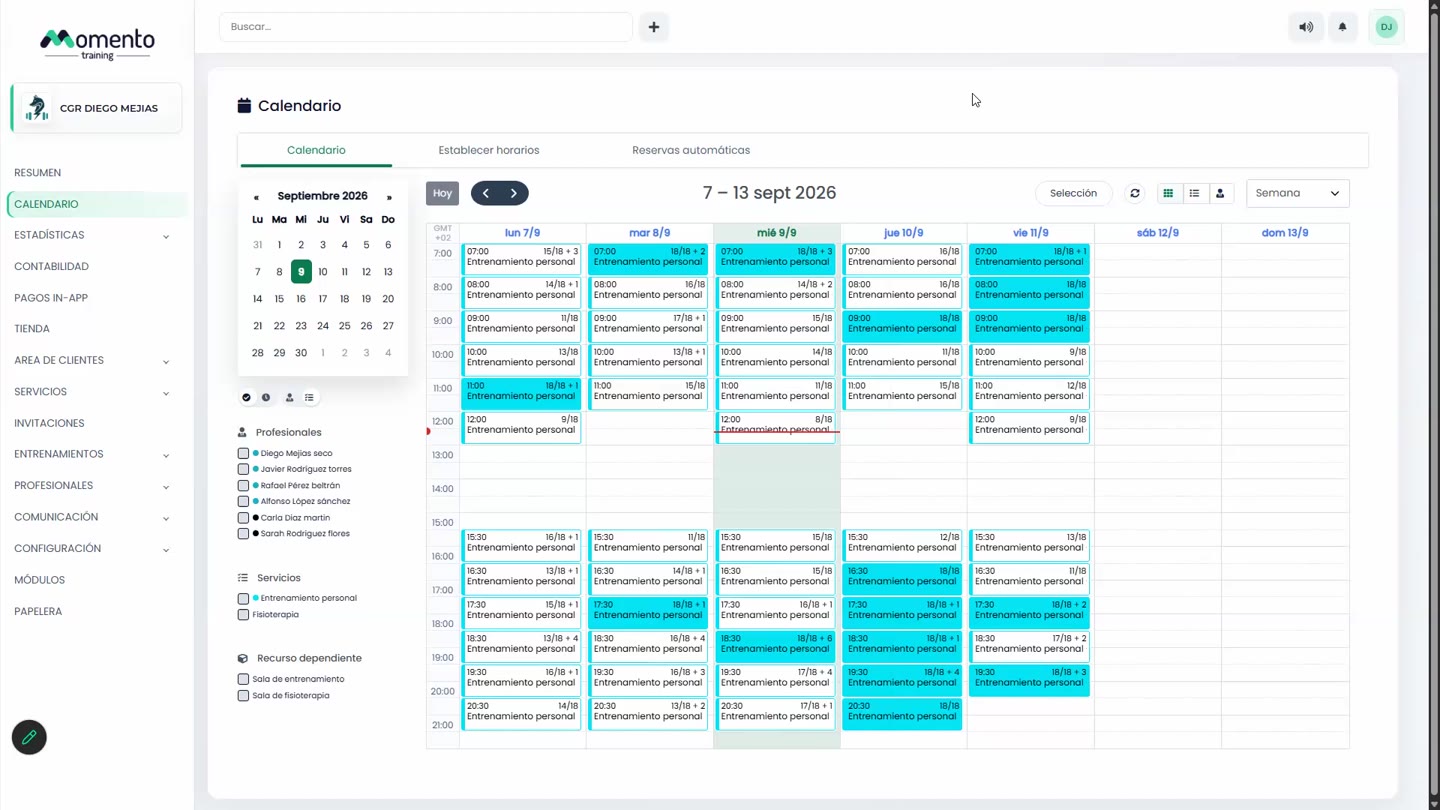
- Go to Calendar and open the Set schedules tab.
- Click Create calendar.
- Fill in the form:
- Name: only your team sees it, so make it clear. For example "2026-27 season" or "Boxing – Guille".
- Start date: the first day classes will be offered.
- End date: the last day. Leave it blank if the schedule should keep running with no end date.
- Recurrence: choose 1 week if every week is the same, or 2 weeks if you alternate between two different weeks.
- Click Save changes.
The schedule appears in the Unpublished tab, ready for its classes.
Tip: don't set the end date too far ahead. If your timetable changes in summer or September, it's easier to end this schedule then and start a new one. For example, if you build it in September, an end date at the end of June works well.
Step 2: Build the week
Open the schedule you just created. You'll see an empty week, Monday to Sunday.
- Click the start time of a class and drag down to the end time. This creates a time slot.
- With the slot selected, click Configuration and choose:
- Type: confirmed (the usual) or unconfirmed.
- Service: the class, for example "Boxing – Group".
- Assigned professional: who teaches it.
- Resource (optional): the room or equipment, for example "Room 1".
- Duration: in minutes.
- Click Save changes.
- Repeat for every class in the week.
Under Advanced settings you can add an internal description (only your team sees it) and an external description (clients see it in the app).
Important: a class with no service or no professional won't appear on the calendar.
Step 3: Lock the sessions
When the week is complete, confirm the classes:
- Click Select.
- Tick every session of the week.
- Click Lock.
To change a session later, select it, click Unlock, make the change and lock it again.
Step 4: Publish
Click Publish. Momento creates all the classes on the calendar for the dates you chose, and clients can start booking.
If you'd rather the classes appear later (for example, to open bookings for a new season at a set time), choose Schedule sessions and set the date and time.
Important: nothing appears on the calendar until you publish. And if you have several schedules, you need to publish each one.
Quick summary
- Calendar › Set schedules › Create calendar.
- Add the name, dates and recurrence, then save.
- Open the schedule and drag to create each class.
- Choose the service, professional and room for each one.
- Lock the sessions and click Publish.